Thursday, 20 September 2018

Staple Patched Jacket for Fall

Today's post features one of my favourite new jackets that has a ton of fun patches on it! This jacket is definitely the star of the show of any outfit I pair with it. In this look I used light colours on the top and dark colours on the bottom. This outfit is perfect for fall because it keeps you warm yet displays the fun expression from the jean jacket. One of my favourite parts of the jacket is the fur collar it has which makes the look a bit more retro. The patched jacket I am wearing is from the brand Indigo Rein. (similar)
My baby pink turtle neck is from h&m. I am also wearing basic black pants. 
My bucket bag is from Urban Outfitters. (similar)
Lastly, my shoes are black converse
Thank you for reading my post this week and I hope this inspires you to grab a stand out piece in your wardrobe and rock it this week! Sometimes bold pieces like this jacket can be intimidating, but pairing it with the right pieces can make it a definite staple outfit! Thank for reading!


Wednesday, 12 September 2018

Welcoming Autumn

Hello and welcome back to my blog. I am sorry I have been inactivate on here recently but it was because I started school a few weeks ago and things have just been a bit hectic! Although I was gone for a while I am back now and am ready to get many fashion posts and DIY's up as possible. Soon I will be uploading a separate post on my new schedule and post days I will be uploading. Today though, I will be showing you an outfit I wore recently that just screams fall and includes stylish yet comfortable pieces making it a great look for school. Autumn is one of my favourite seasons because you are able to utilize transitional pieces from summer and pair them with some future winter pieces. I loved this outfit because I was quite simplistic in the sense that if you cannot find these exact pieces there is always the option to find dupes that look alike or are very similar. The last thing I wanted to mention before I showed you the look was, these photographs were taken by one of my closest friends Diyaa, who recently began her photography account where she features amazing and quality photos. I would definitely recommend you to check out her account on Instagram, @djcaptures.
My mustard, bomber jacket is from the brand Sans Souci and my white lace halter top is from Brandy Melville. (similar)

My shoes are just white Adidas
Thank you for reading my post this week on the beginning of fall. I will be sure to have more uploads on the upcoming season that will be soon to come!

Thursday, 30 August 2018

DIY Bullet Journal

Recently I have been seeing a lot of bullet journaling videos floating around Youtube and since I am obsessed with stationary I had to check it out and immediately fell in love with the concept. It allows you to do whatever you want to your journal and make it yours. You can customize it to your liking and make it you! Today I will be showing you how I detailed mine along with the tools I used to make it.
Tools:
The first thing you will need is the bullet journal itself. I got mine from Chapters and it is called the 
LEUCHTTURM1917 dotted hardcover notebook.
The pen I use in my journal are the Pigma Micron felt tip pens in various sizes. 
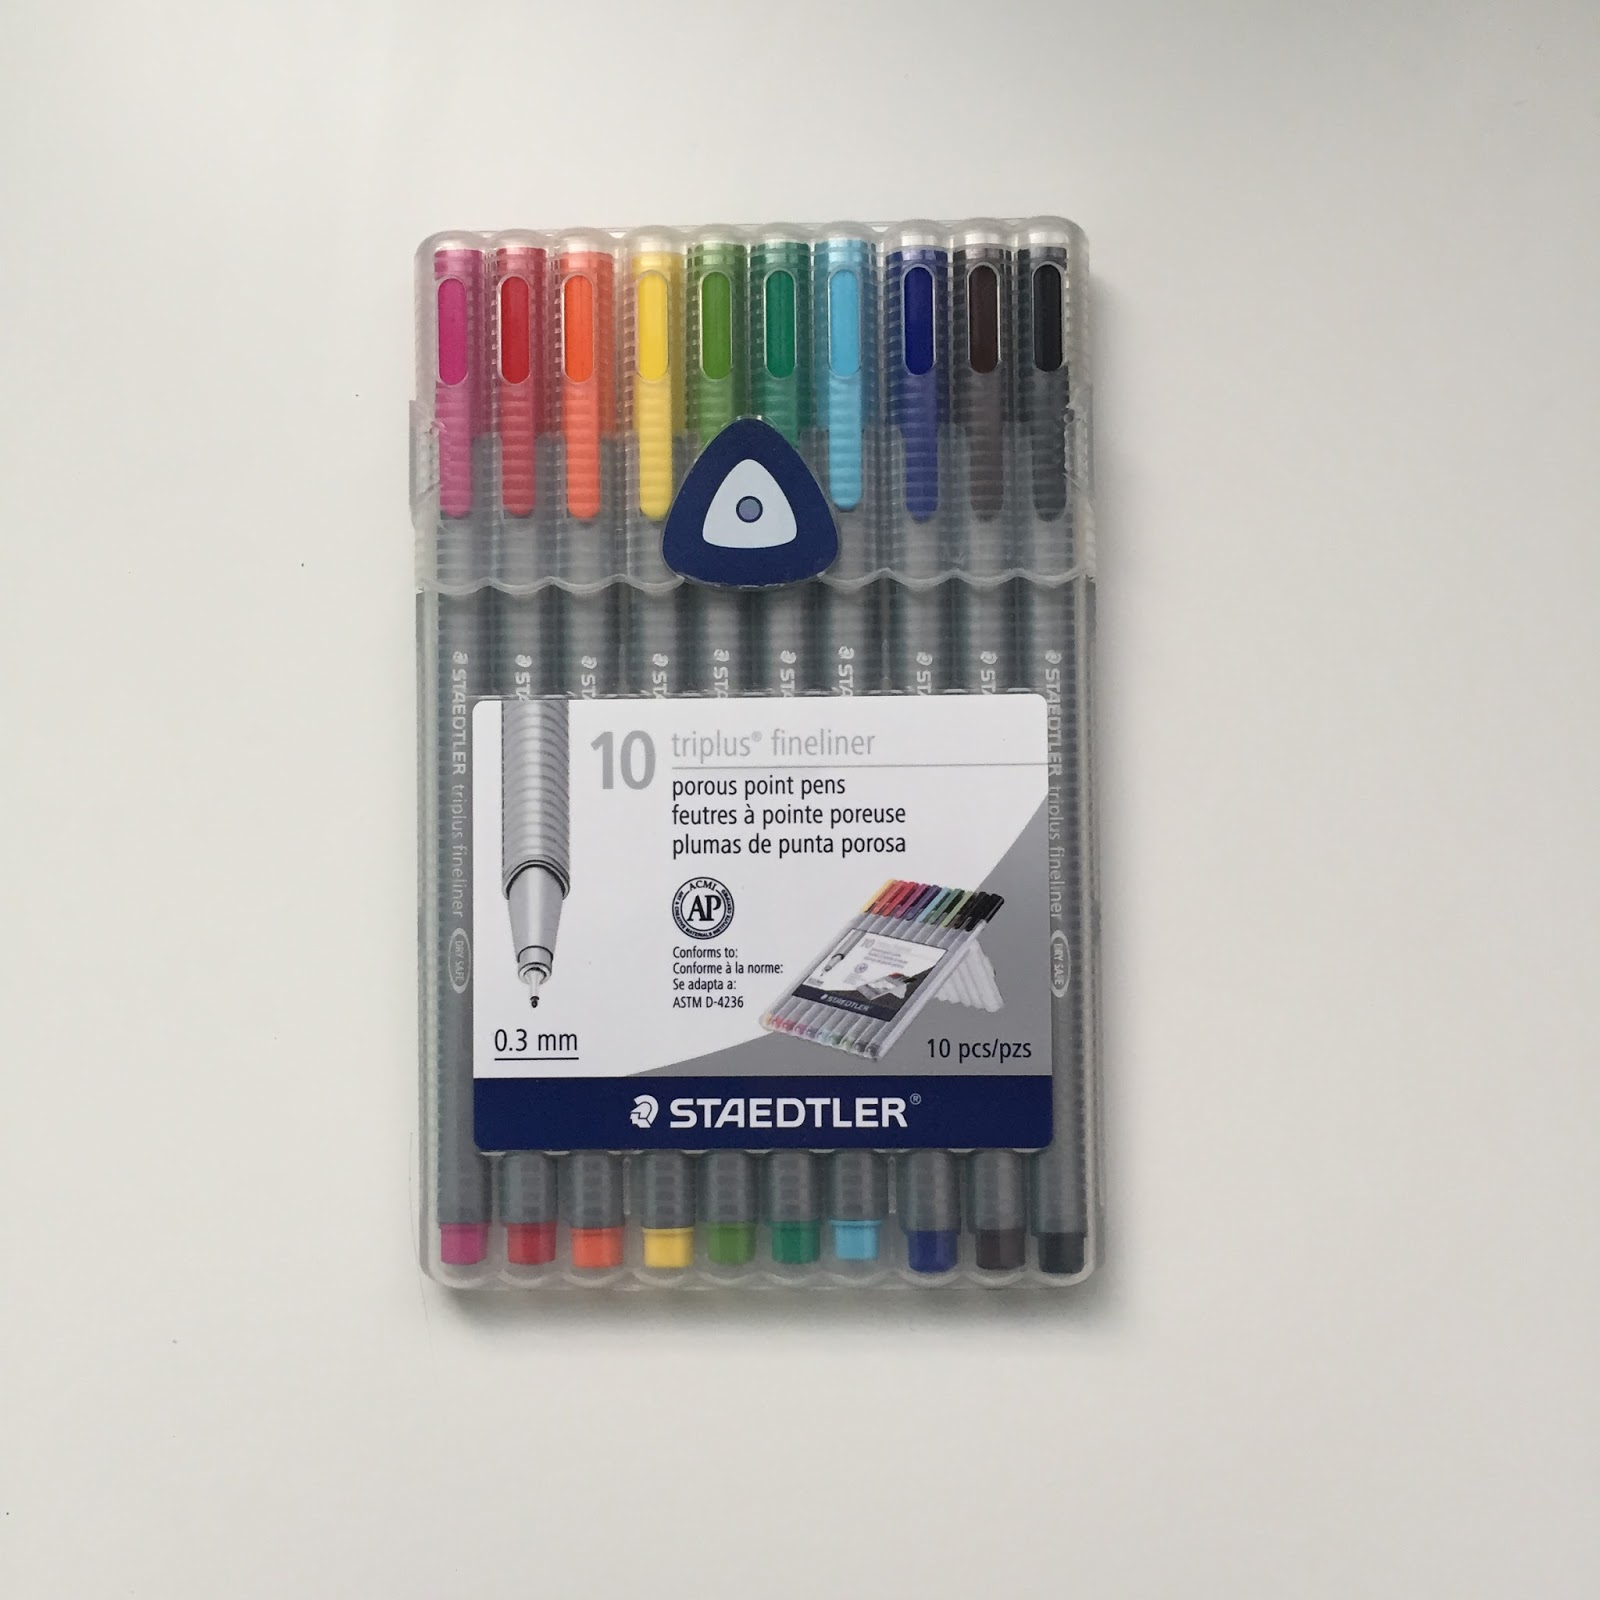
If you want to make you journal and but more colourful you could these triplus fine liners from Staedtler. 

The Design: 
Firstly I began with a Index where I documented all of my important pages. 
Next I drew out my future log and if you wondering where I got the inspiration from I would definitely recommend checking out Pintrest! 
For the Key I used the general one that has been created by the Bullet Journal creators. Click on the link for the thorough overview. 
Next, I created the memories page where I am going to document important events in my life. 
Next, there are the Books to Read page where I created a bookcase where I will put book titles of what I want to read. There is also a Wishlist page where I will put things that I want to purchase. 
I also included a Movies and TV Shows to Watch page as well as Travel. 
For the beginning of the month I created a flower design which I realized was a bit too small but I still found super cute! 
Next I created my monthly spread which I enjoyed but I realized that I didn't end up using the goals and tasks section throughout the month. 
Lastly I made my first weekly spread which I completely love because of the calligraphy and doodles in the corner. It makes it look simplistic and clean.

So that's my bullet journal! I hope you enjoyed reading his weeks post. As you can tell I am aiming for a simplistic black and white theme. What I have realized from bullet journaling is that over time you will fire out what style best suits you for future spreads! 


Thursday, 19 July 2018

DIY: Birthday Decor

 This past week it was my sister's birthday and to celebrate my family hosted a small gathering with my family and friends. For decorations we organized them with the colours of white, gold, pink and black. We kept it simple and chic with the decorations. It was a wonderful day!
We hung up these gold balloons which read the words #party and it was easy to install and very cute. 
I found these at icing
A glass table was used to place appetizers and some sweets for the celebration. 
We indulged in homemade chocolate cupcakes with frosting, strawberry and vanilla macarons and milk chocolate. 
This tassel string decoration was made by my sister who cut tissue paper up in the colours white, gold and pink and placed them on a string. This added a great touch to the rest of the decorations. 


Sunday, 15 July 2018

DIY Pin Collar Accessory

Recently I came up with this DIY that is incredibly unique and different to what you typically see. Most people use a bold statement necklace to accessorize their looks because it gives it a pop to the outfit. But I recently saw this unique twist on Pinterest which took a necklace to a different level.

Materials:
- Pins (found at craft store)
- Jump-rings (found at craft store)
- Chain (found at craft store)
- Choice of jewel/flower (found at craft store)
- Hot glue gun


Procedure: 

First I removed all of the materials from their packaging.

Then I glued my flower onto my pin also making a hole in the fabric. This hole will allow us to attach the jump ring further on. 

Then I cut down the gold chain so that it would not be too long when it was attached. 

Then I attached the jump ring to the gold chain.

Next I attached it to the fabric and closed the jump ring shut. 

Finally, I attached it to my shirt! 
Thank you for reading! 

Saturday, 14 July 2018

DIY Charm Bracelets

With the holiday season quickly approaching I thought I would share a quick and affordable gift that is easy to make and is super cute. I recently made this DIY and it turn out much better than I was expecting and both came out under $10!
The materials you will need are:
- Bangles (similar) 
- Charms (of choice, I found mine at Michaels)
Steps:
1. Detach items from packaging
2. Use pliers to open jumps rings
3. Place charm on jump ring and onto bracelet
4. Close jump ring
5. Finished!
Again this DIY is super quick and makes for a great gift! I hope you liked this post and try it out! Link for where I got my supplies are linked above.


Wednesday, 13 June 2018

DIY Embroidered Denim Jeans

Recently I have been seeing that embroidery and patchwork have become huge trends. But specifically with these trends there is a large price with the items. I decided to DIY my own pair to make them my own and still achieve the look. These types of clothing can work really well for the upcoming season.
First I started off with clearance blue jeans that I found from H&M for $7. 

Next I measured how short I wanted them and pinned off the section with a clothespin. 

Next I flipped the pants inside-out so I could easily cut across. 


You could be finished here with the ends or you can fray the end which gives it a more distressed look. If you want to know how you could have done that, you could check out one of my recent DIY's. 

Next I took some burlap flowers that I found at the craft-store and displayed them on my pants making sure they were in the placement I felt fit best. 

Taking my hot glue gun, I applied them carefully. 

And you are finished! 

Thank you for reading!