

The fabric I used was found at Fabricland and I got the measurements 2mx1m.
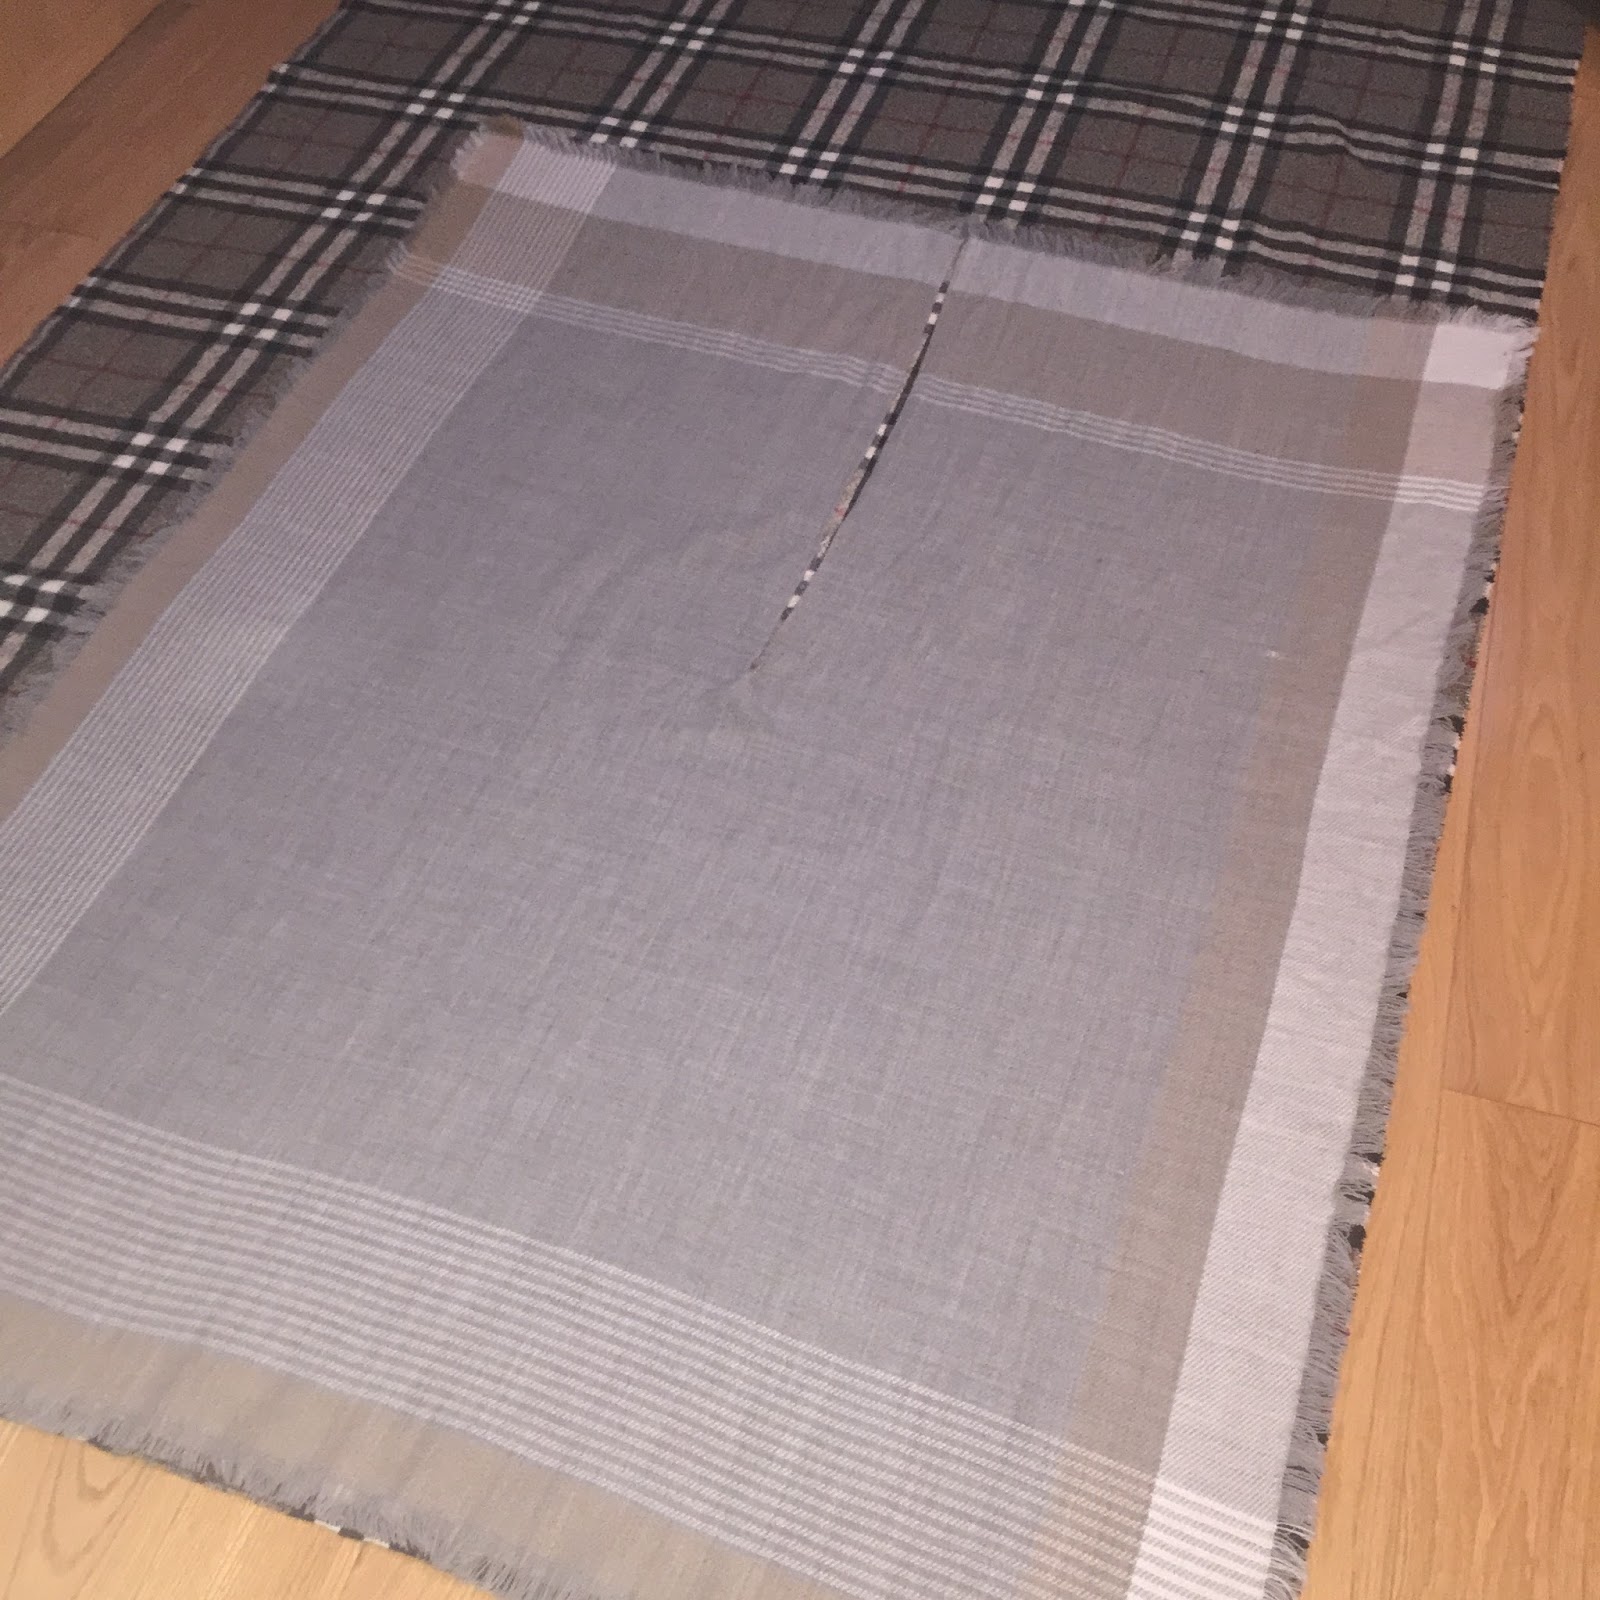
Next I laid out a template of a piece of fabric that I had worn before to create the general shape of what I wanted it to turn out looking like. Keep in mind I did not use this exact shape I just used it for an overview.

Next I found the middle point in the fabric where I would cut to have over my neck.
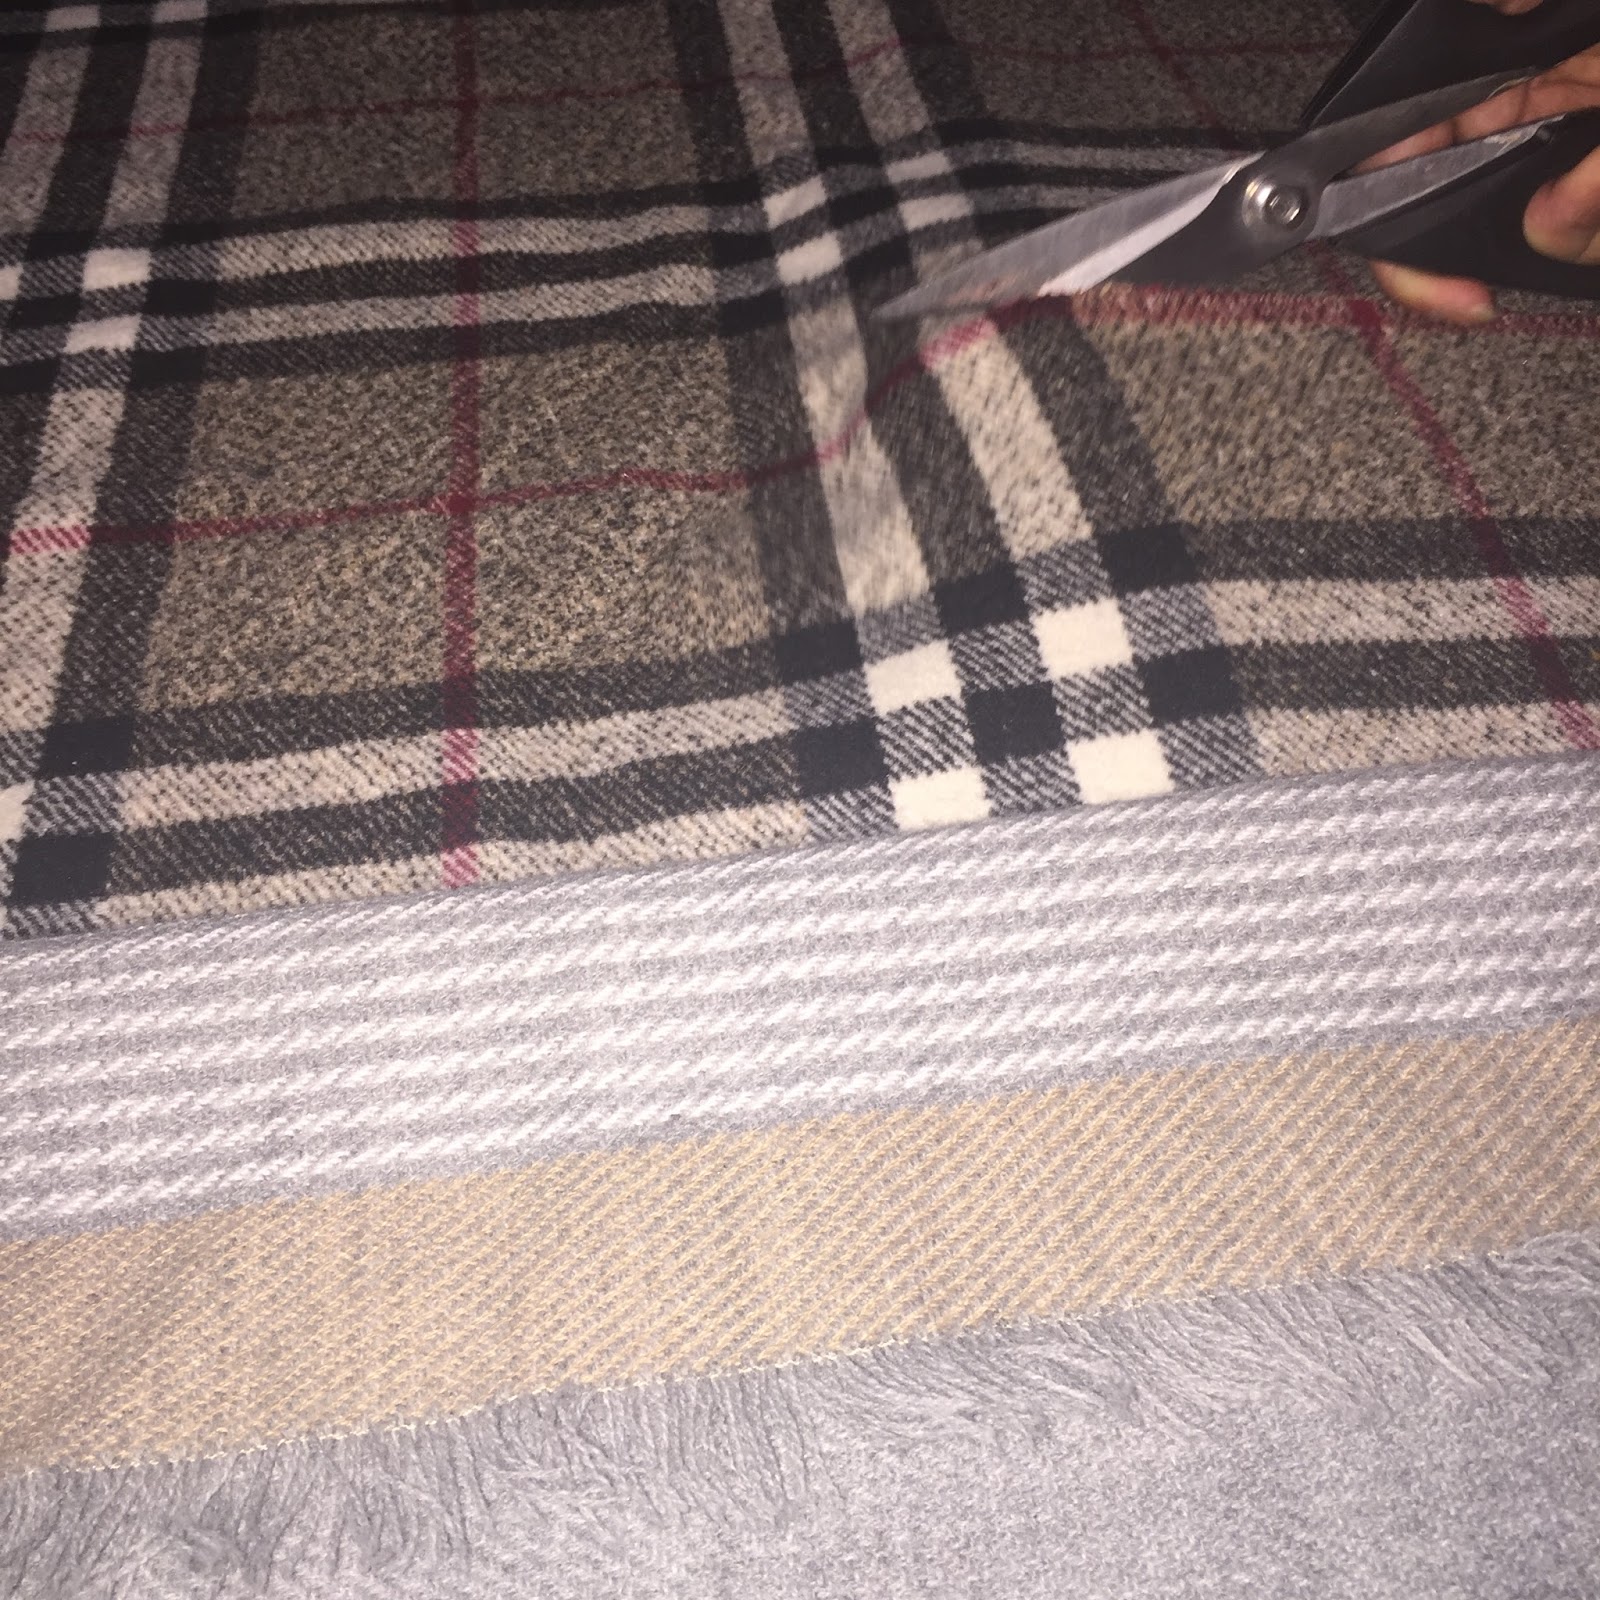

Next I began to cut my fabric, as you can see I did not follow my template exactly as I just used it for reference.

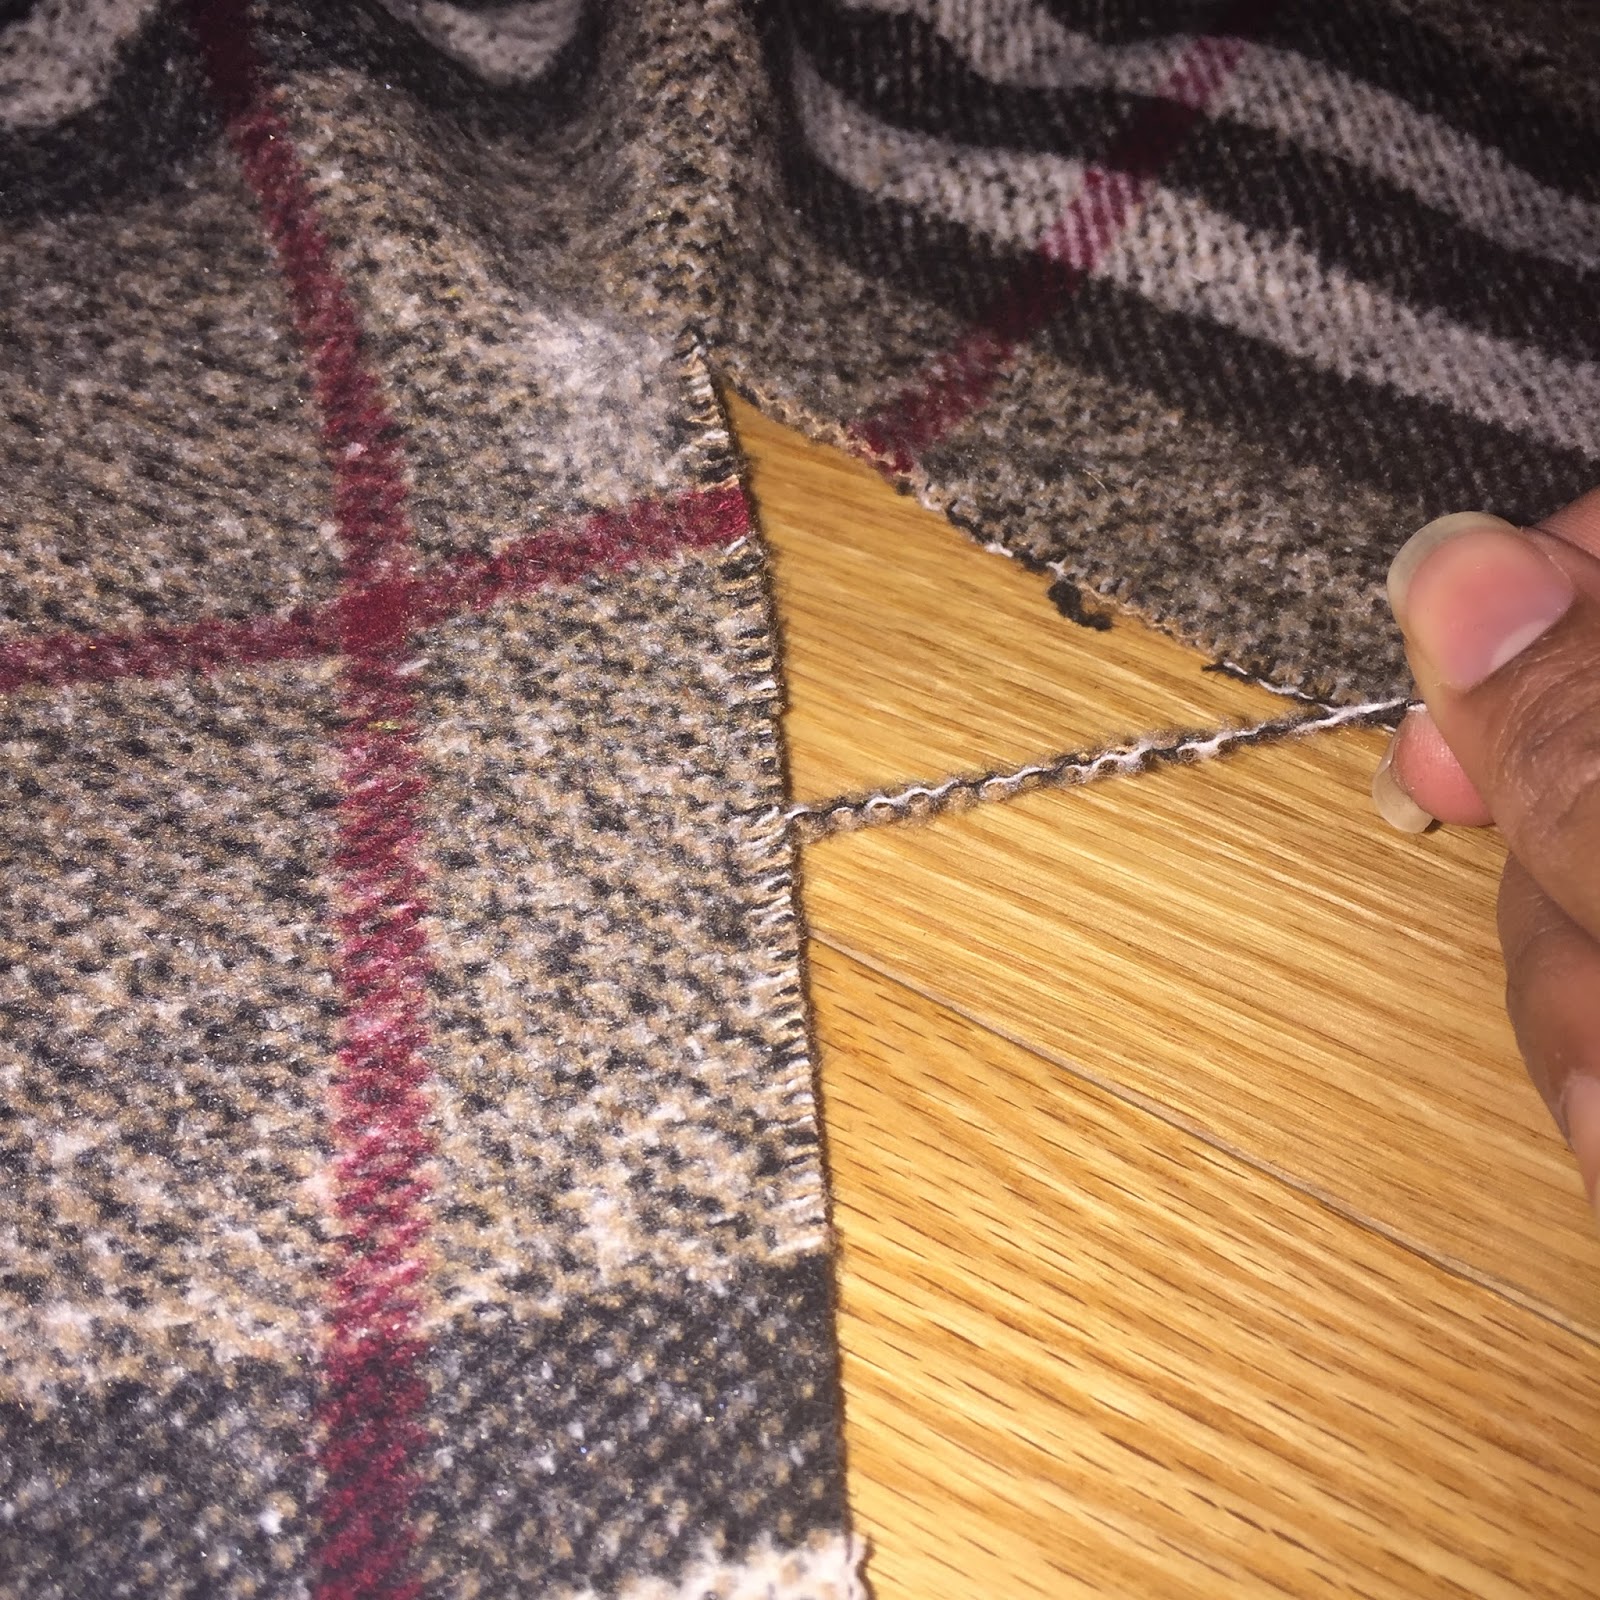
Next I used chalk and a clothespin to mark how far I would be cutting down the middle.

After, I put out some layers of the fabric to fray the ends to give a more polished look.

I really liked how my outfit turned out because as a mentioned before, the focus point was the throw-over so all I needed to do was add basics!

This image shows the fraying I did to the edges.

I wore a basic white long sleeved shirt and black pants.

Lastly my shoes were from the brand Vince Camuto (similar).
Thank you for reading my post this week which features my favourite DIY! Come back next week for a new DIY which is a bit different to my usual ones!
No comments:
Post a Comment